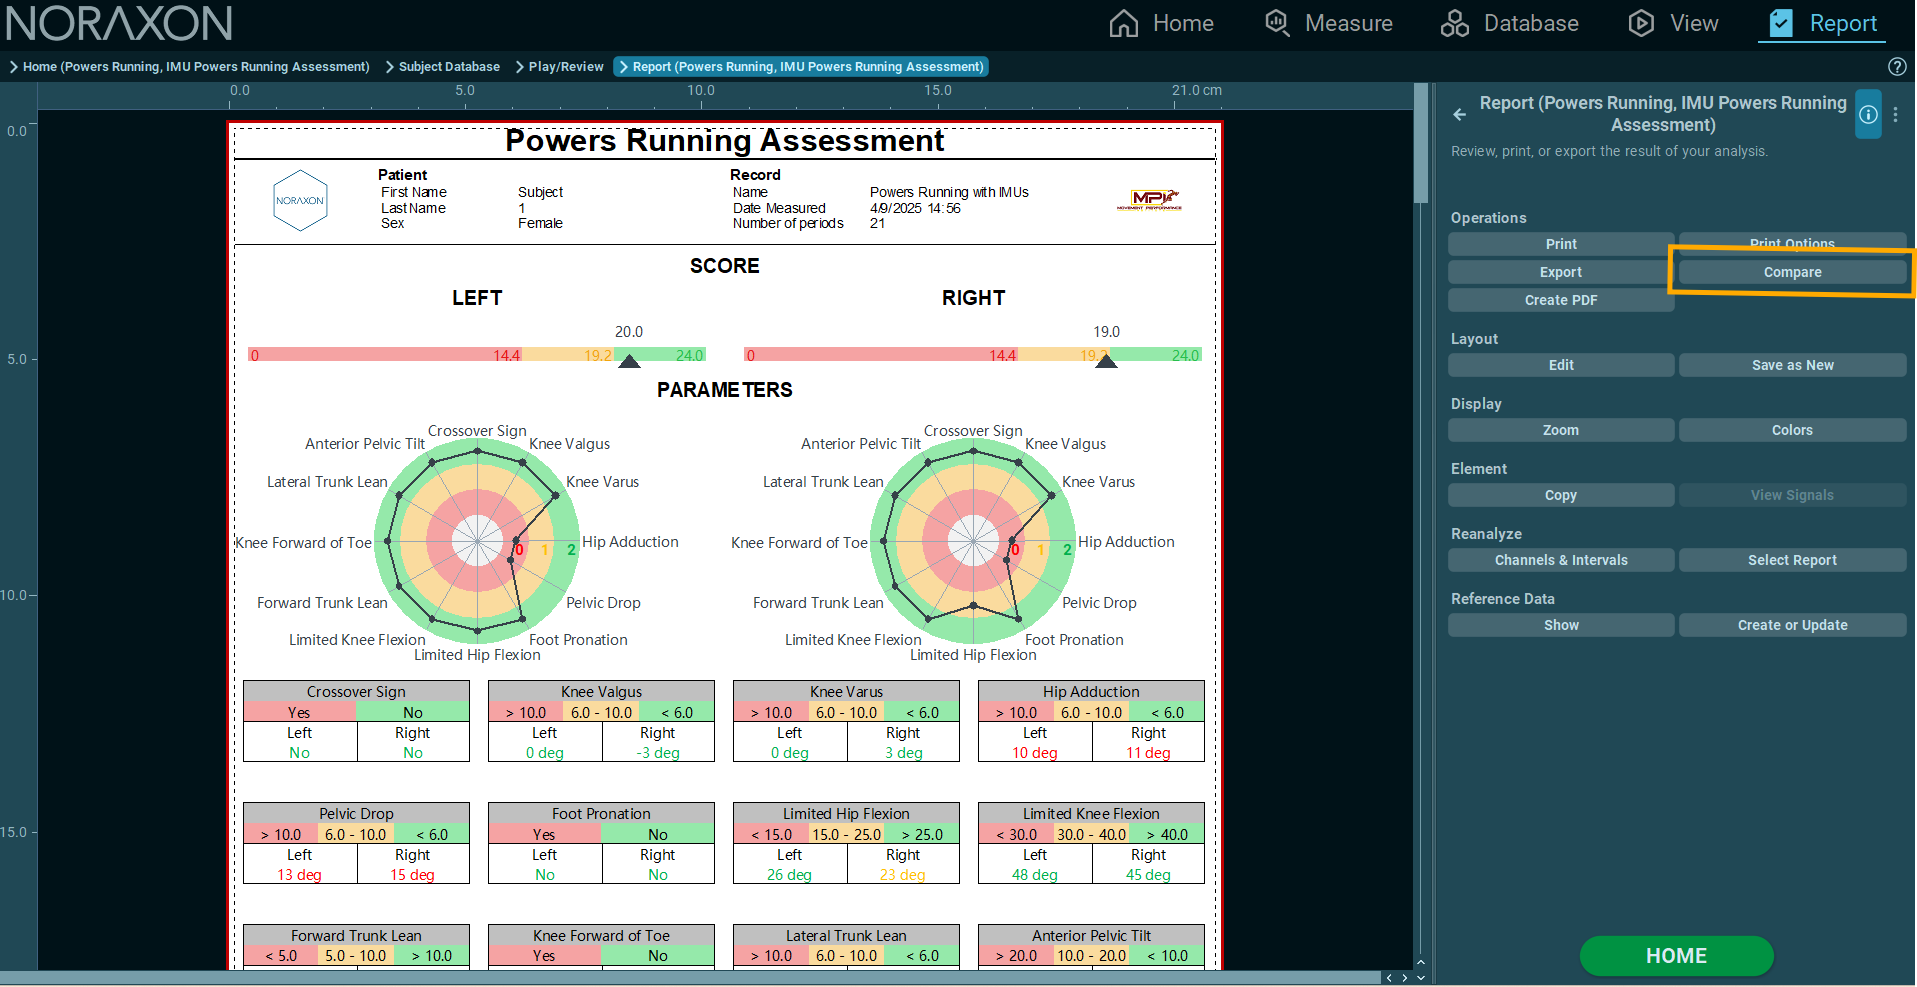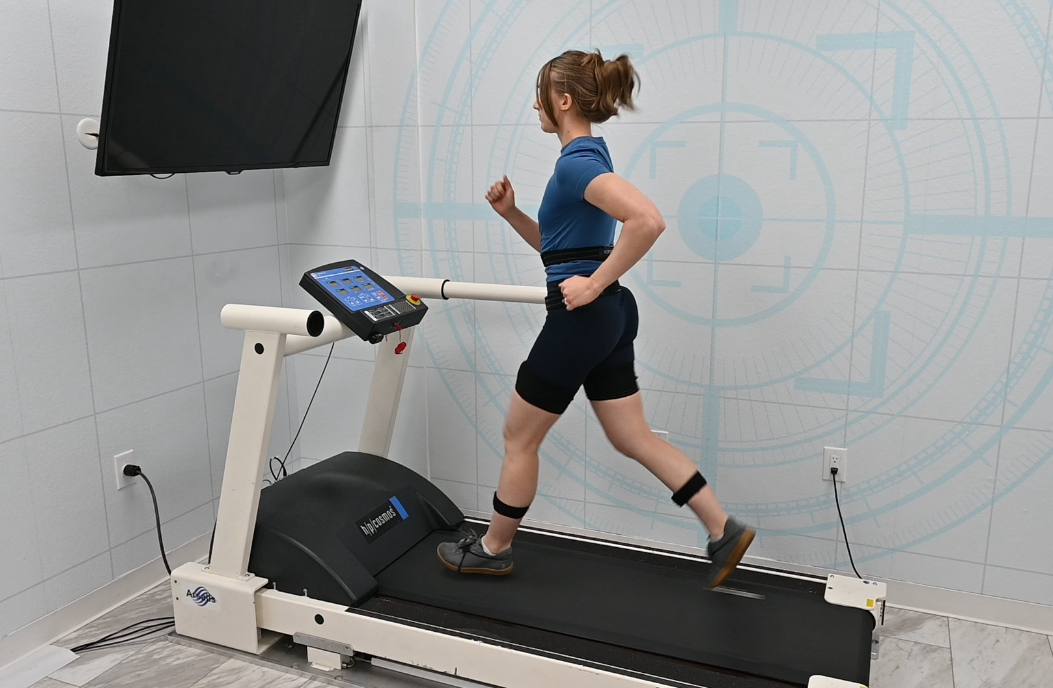
Developed in partnership with Dr. Chris Powers, the Powers Running Assessment add-on provides users with a user-friendly method for analyzing running biomechanics, using Dr. Powers’ running assessment protocols.
Starting with the 2025 MR4 Spring Release, the Powers Assessment is now compatible with Research Pro and Ultium Motion IMU systems for 3D analysis.
For more information on the Powers Assessment itself visit our Powers Assessment Applications page.
Sensor Requirements
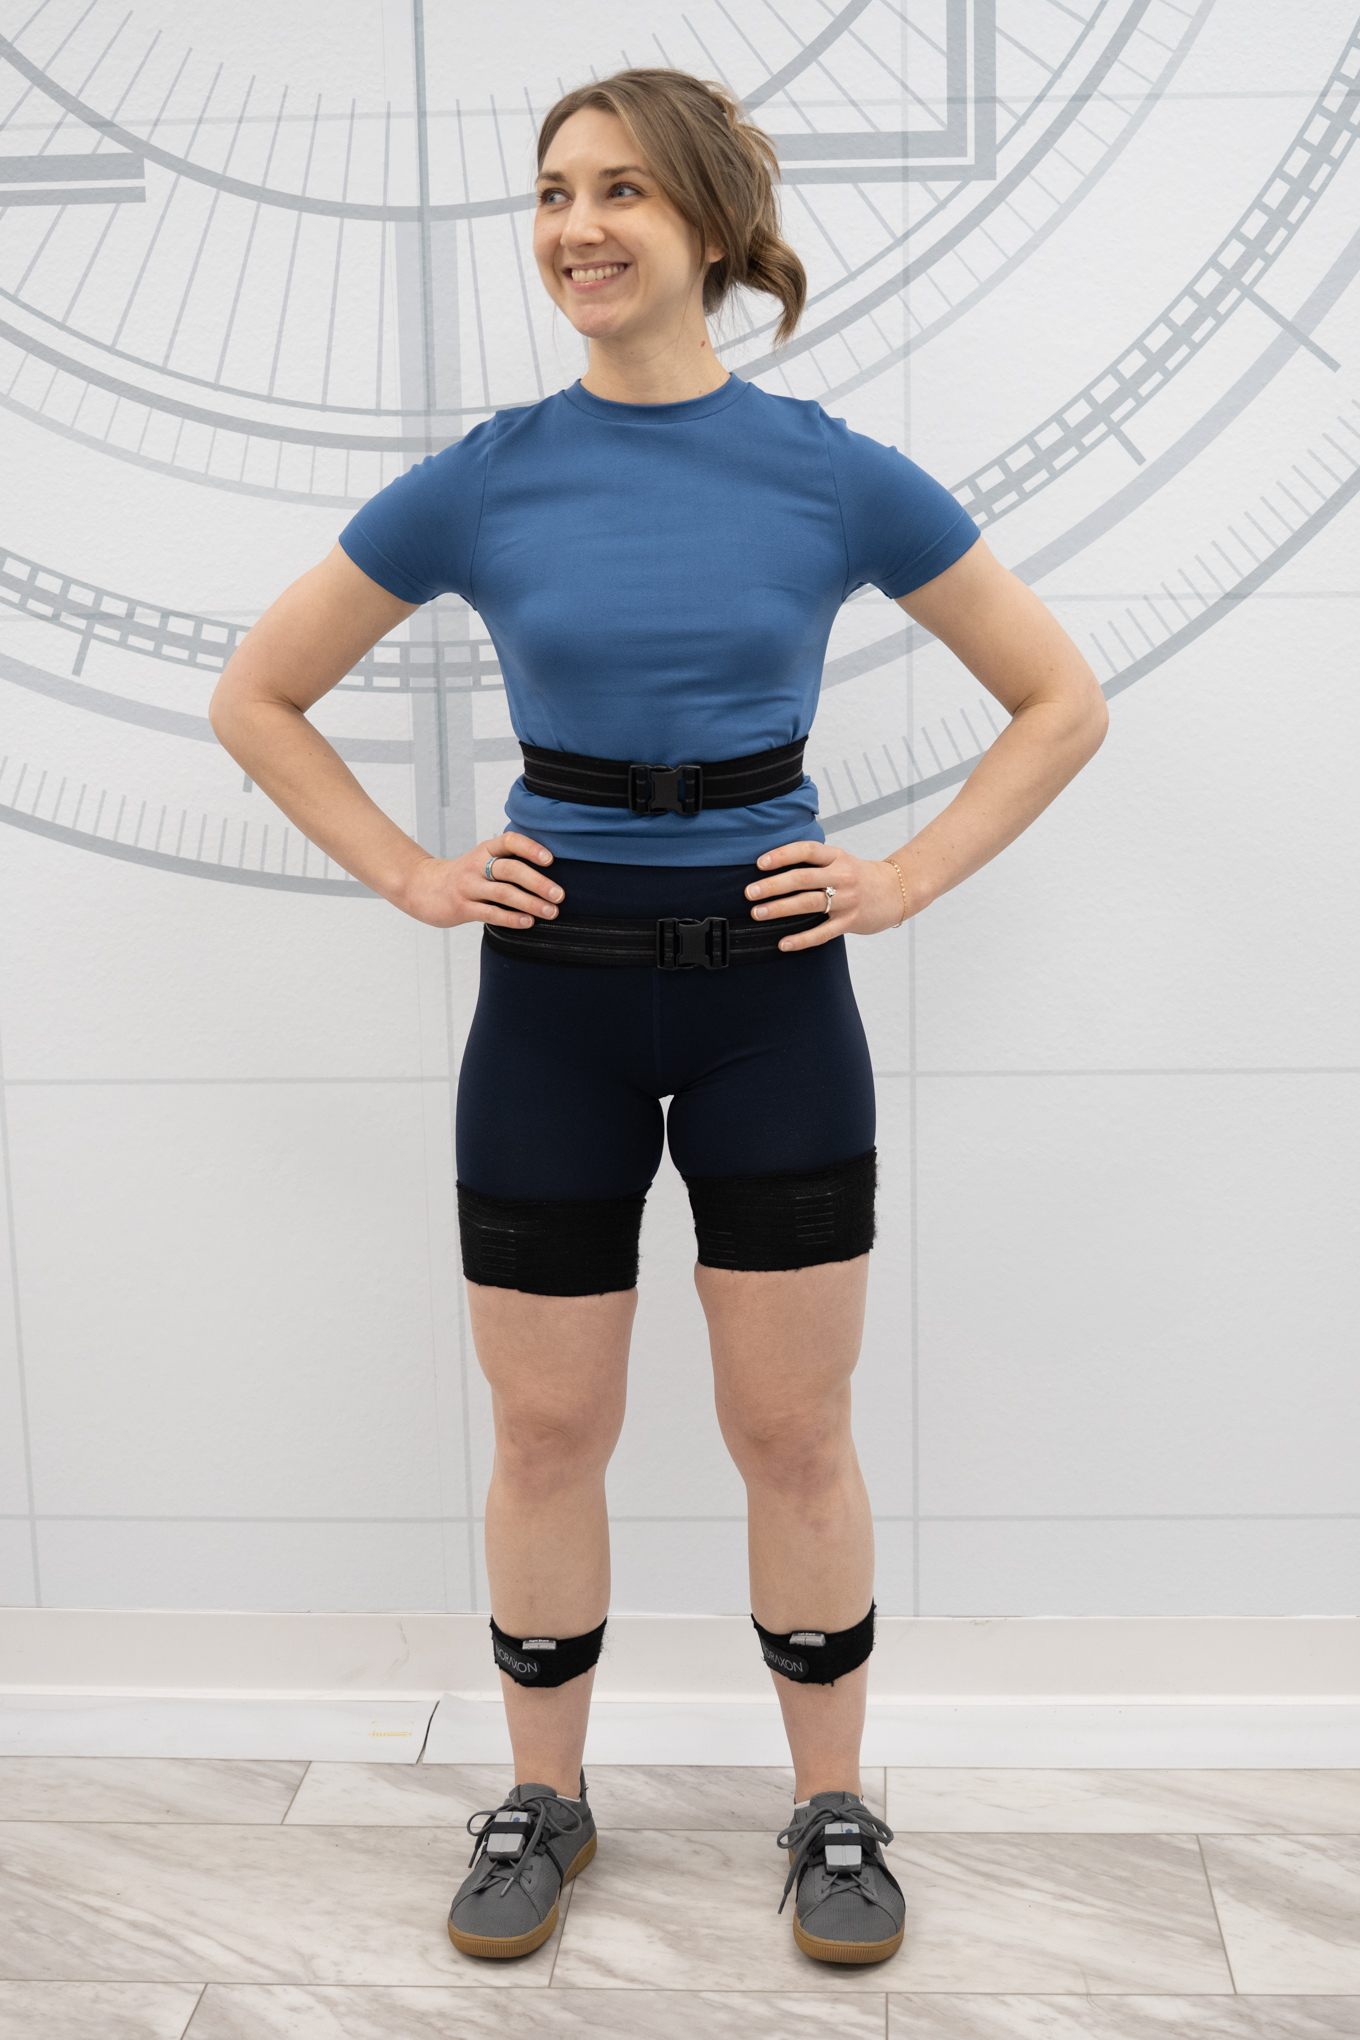
To perform the Powers Running Assessment using IMUs, a minimum of 9 sensors must be placed on the following segments:
- Upper Spine
- Lower Spine
- Pelvis
- Left/Right Thigh
- Left/Right Shank
- Left/Right Foot
For more details about recommended IMU placement techniques and locations, visit our IMU sensor placement video tutorial or Ultium Motion Quick Start Guide.
Refer to the Ultium Motion Getting Started Guide for further details on setting up sensors in the Hardware Setup before proceeding.

Using the Protocol
Step 1: Create a New Subject or Select one from the list.
Step 2: Select the Powers Running application, then the IMU Powers Running Assessment Protocol.
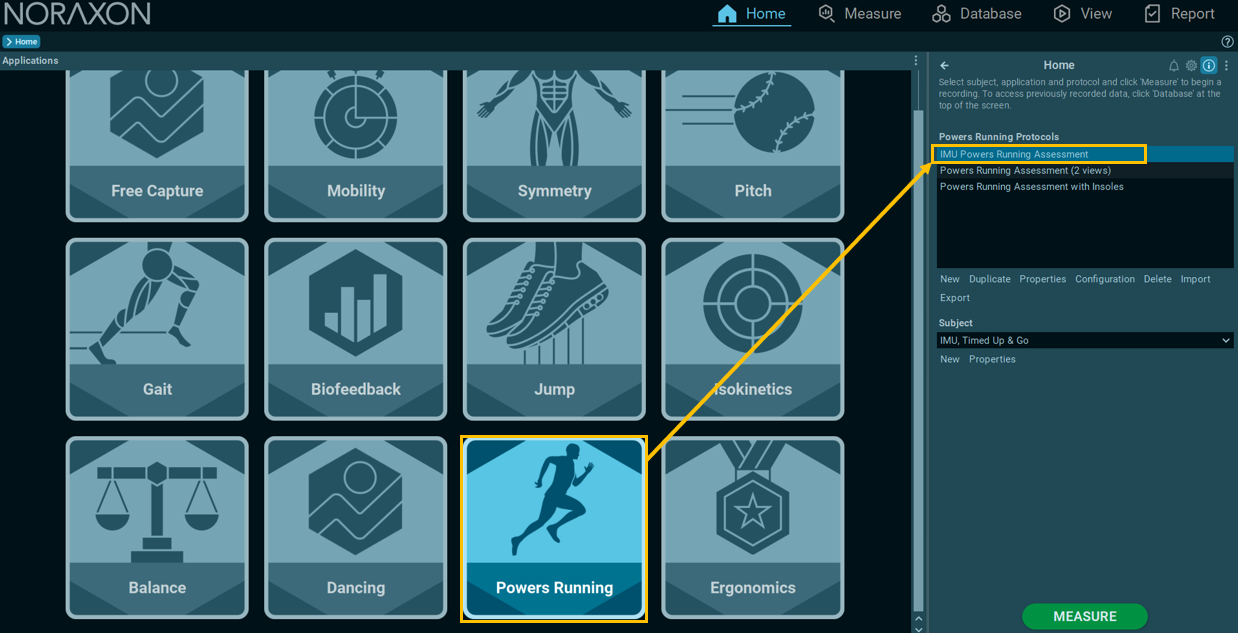
Note: If desired, click Configuration when the IMU Powers Running Assessment protocol is selected to confirm the configruation contains the desired number of sensors, or add other hardware such as EMG sensors or cameras.
Note: The Recording Options within the Configuration contains the activity sequece for the assessment. It can be edited as desired to record for more time or change/add prompts.
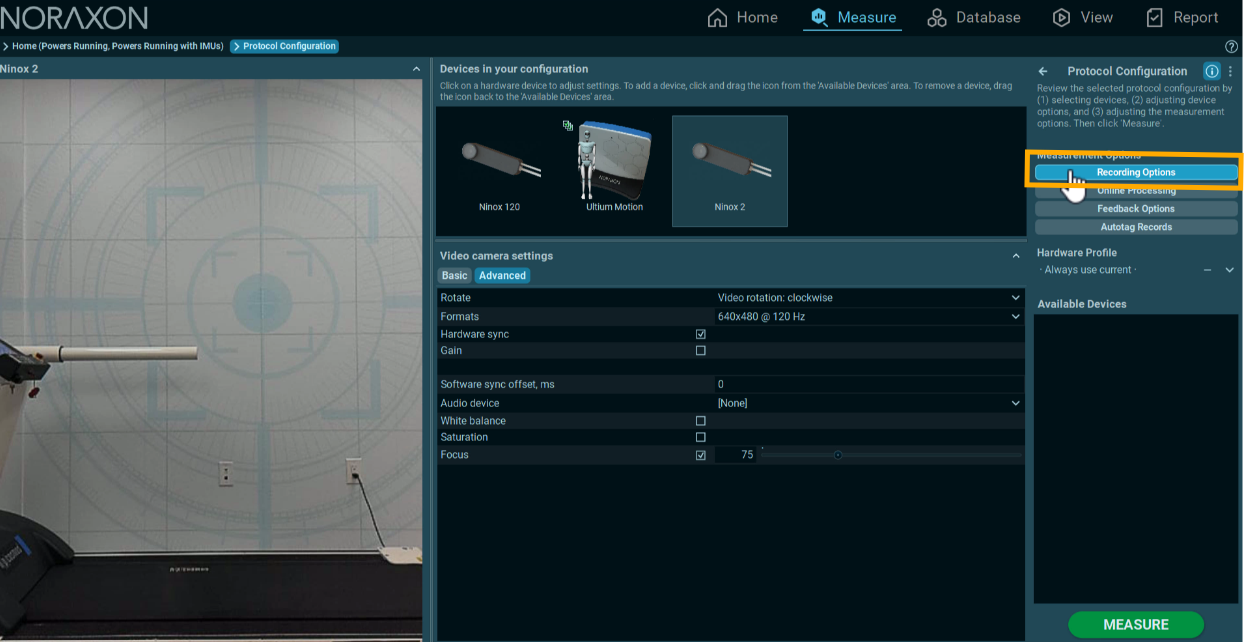
Step 3: Click MEASURE from the HOME screen to start recording.
Calibration
Step 4: Select the Walking Calibration or Forward Lean calibration and click ACTIVATE.
Perform the calibration according to the software instructions. Full calibration tutorials for either calibration option are available in the following articles:
How to Perform the Walking Calibration
How to Perform the Forward Lean Calibration
Step 5: After finishing the calibration, click Save & Measure Again to apply the calibration to the next measurement.
In the video below, the subject performs the Forward Lean calibration next to the treadmill in preparation to perform a running assessment.
Recording the Assessment
Step 6: Click ACTIVATE with the Use Functional Calibration mode selected.
Step 7: Instruct the subject to stand on the treadmill belt and get into the Return to Ref Pose “Standing Pose” position. The subject should stand with arms and spine straight, feet underneath the hips, and toes pointed forward. For more information on how to perform Ref Poses, review the Walking or Forward Lean calibration tutorials.
Step 8: Click RECORD and capture a Return to Ref Pose.
Step 9: Follow the prompts to record 15 seconds of running.
Step 10: Follow the prompts to record an additional Return to Ref Pose at the end of the recording.
Creating the Powers Assessment Report
Step 8: Click REPORT to start the tracking and perform an assessment with the selected investigation profile. Review events when necessary.
Additional Features
Compare reports to compare patient progress over time.
