This page will guide you through the first steps of setting up your Ninox cameras, recording your first measurements, and generating reports.
Unboxing Ninox cameras
Click the Settings icon on the top right corner of the Home screen to access the hardware setup menu. Insert your camera(s) into the selected devices area of the hardware profile and configure the settings. Click “Ok” to save the settings and close the hardware setup menu.
Note: View the Ninox Quick Start Guide to learn how to set up your Ninox cameras in the MR software and adjust your computer settings for optimal performance.
Adjusting camera position
It is important to position your cameras correctly to ensure accurate tracking. Our Tips for Markerless Tracking🔗 document outlines best practices for 2D markerless video analysis, and includes guidelines for:
- Camera setup
- Camera settings (Note: a frame rate 120 FPS or greater is recommended for running as fast movements require a higher frame rate.)
- Subject attire and contrast with the background environment.
- Recommended applications
For two camera setups on a treadmill:
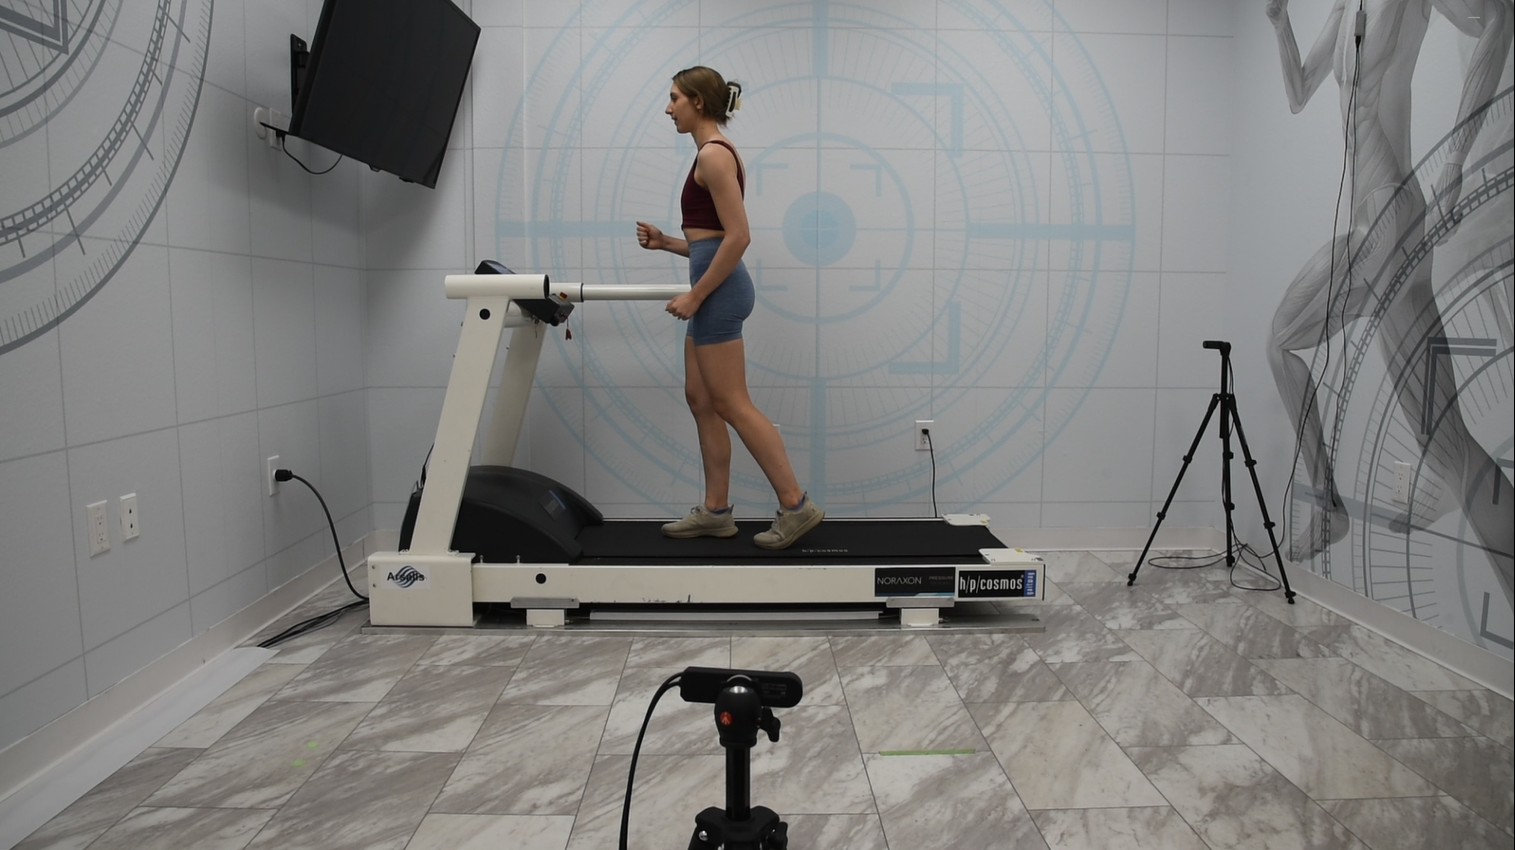
- A camera should be placed on the side of the treadmill, about 6-8 feet away, depending on the height of the subject. For best results and to minimize parallax error due to the camera angle being improper, raise the camera to waist height and ensure the entire subject is within the frame.
- A camera should be placed in the posterior side of the treadmill, at least 3 feet away. Below is an example of the camera placement for a two camera setup on a treadmill.

NOTE: Ensuring the camera is in the level is essential to collecting accurately-tracked kinematics.
Setting up your protocol in MR

Gait Analysis
1. Click New to create a new protocol under the Gait application, then name your protocol and select the Markerless Gait POI or Markerless Running POI as your report.
-OR-
Use the pre-built Video Gait Analysis (Left-Side First) or Video Gait Analysis (Right-Side first) and Video Running Analysis (Left-Side First) or Video Running Analysis (Right-Side first) protocols under the Gait application.
Note: Choosing “Left-Side First or Right-Side First dictates which side of the body will be recorded first in a multi-activity recording. Choose one of these options if you will be repositioning your camera or running your treadmill in reverse halfway through a recording to capture sagittal plane kinematics on both sides.
2. Click Settings to adjust your hardware and add your cameras. Here, you can adjust the camera settings again.
Recording a gait or running measurement
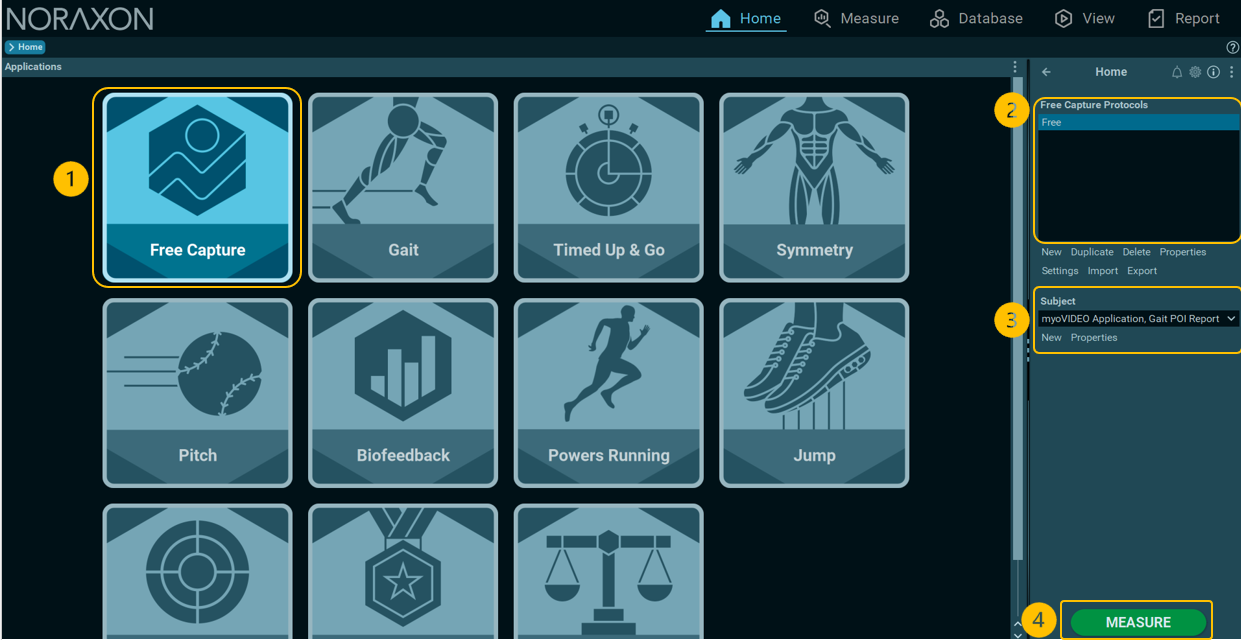
Select the Gait application on the Home screen, choose a protocol, and select or create a subject. From here, the software will guide you through the measurement steps.
Generating a markerless gait or running report
Click “Report” to start the tracking. Select between “Walking” and “Running” for the tracking type.
Other activites
View the How to Use 2D Markerless Tracking and Any Activity video to learn more about how to track other supported activities like jumping, squatting, or lifting.

